Where to Put a Litter Mat? Two Steps From the Exit
Where to put a litter mat, in inches: 18-24 out from the opening (2 strides). Hooded box concentrates, open pan wraps, corner pan needs a wedge.

Alfredo RamsesFounder · August 23, 2026 · 18 min read

On this page7 sections
- 1The Only Distance That Matters Is the First Two Steps
- 2The Shape Changes Completely With the Box You Own
- 3Why a Perfectly Centered Mat Still Leaves a Ring of Litter
- 4When the Wall Eats the Space You Were Supposed to Wrap
- 5Two Cats Means Two Mats, Not One Bigger One
- 6Conclusion
- 7Frequently Asked Questions
You did what the internet said. The mat went directly in front of the box, centered, edges flush, and there is still a gritty trail down the hallway and a ring of granules on the bare floor around it.
Nothing here is broken. The cat is not defeating your mat and the mat is not a bad mat. The rule everybody repeats, put the largest portion in front of the box, is missing the only part that decides the outcome: how far out from the opening the mat has to reach, measured against your cat’s stride rather than the box. Get that number wrong by six inches and a mat that costs real money does nothing at all.
So this is where to put a litter mat, in inches, for the box you actually own.
Quick Answer
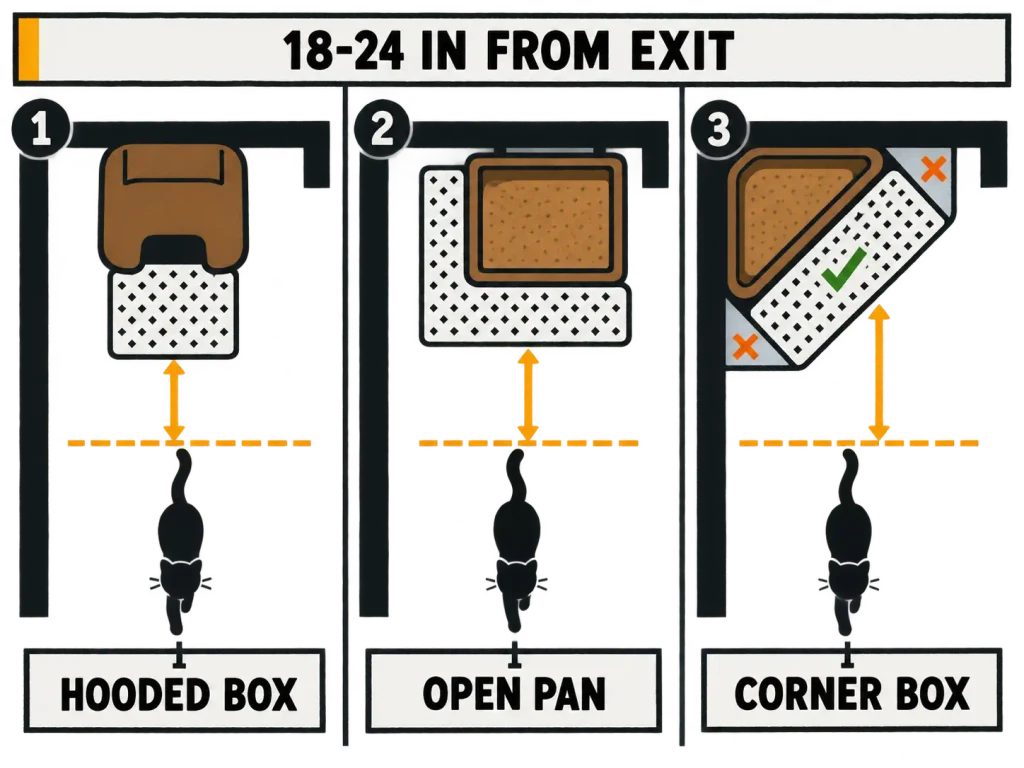
Put the litter mat on the side the cat exits, covering 18 to 24 inches out from the opening. That is the first two strides, where paw-carried litter drops. A hooded box concentrates all of that coverage at its door; an open pan against a wall needs the mat wrapped around whichever sides are still exposed.
The Only Distance That Matters Is the First Two Steps
Mat placement is the third of the three fixes that stop tracking, and the order they go in, and it is the one people reach for first because it feels like the cheapest. Fair enough. But it only pays off if you place it against the right measurement, and almost nobody does, because the measurement everybody uses is the box.
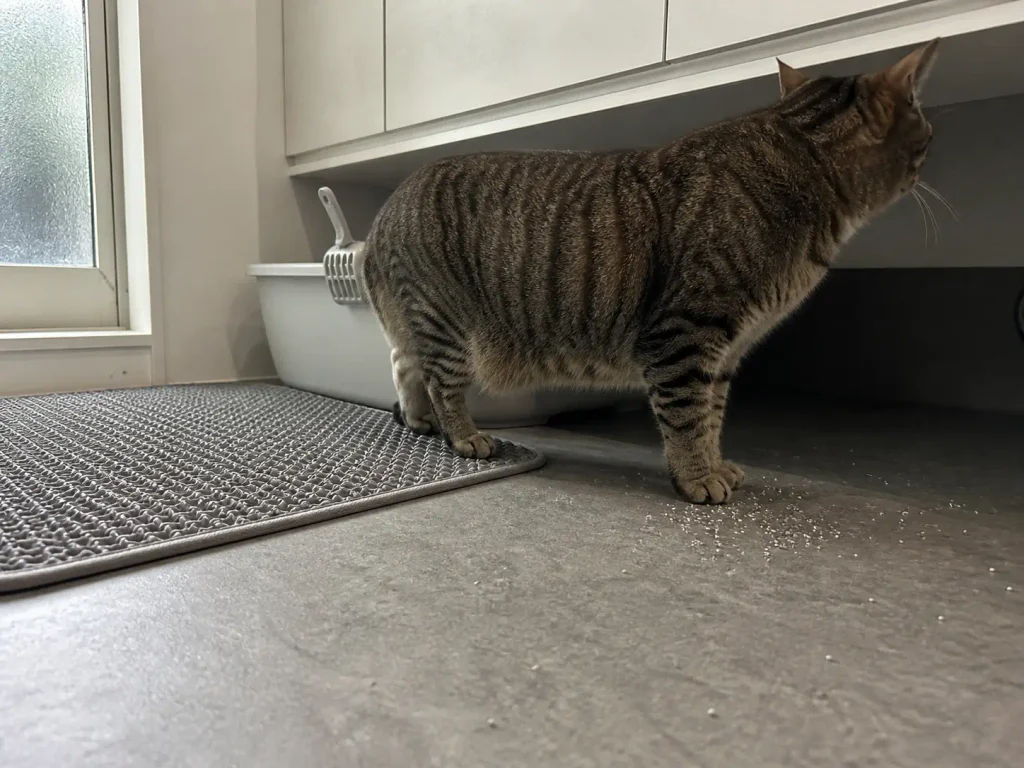
Here is the physical limit you are working inside. Litter leaves the box wedged between the toe pads, and the paw wiping motion against a surface is what drops it off. That transfer is front-loaded and it runs out fast: a mat only works for the first two steps, and past that the paw is either clean or holding onto granules a flat surface will never reach.
Your mat is not a walkway. It is a two-stride window, and your only job is to make sure both of those strides land on it.
Translated into something you can measure on the floor: 18 to 24 inches of depth out from the opening, on the exit side. Sizing guidance across mat guides clusters between 12 and 24, and the low end of that range is where the disappointment lives. Twelve inches gets you one stride for an average adult and about three quarters of a stride for a large one.
That distinction between depth and width is the one that quietly wastes the most money. Depth from the exit is the functional dimension; total surface area is not. A wide, shallow mat looks generous in a photo and fails on the floor, because the cat crosses its short axis in a single step and lands his back paws on bare wood while still carrying most of the litter. The recurring complaint in mat threads is exactly this shape of failure: the mat looked big enough in the store, and once it was down the back feet were already off it within one stride.
And measure it against the animal, not the furniture. The same logic runs through the box size rule, where the standard is the 1.5-times-body-length rule that behaviorist Pam Johnson-Bennett recommends, scaled off the cat rather than off whatever the store labeled “large.” Mats inherit that problem completely.
A mat sized to fit a standard box is sized to a box that was probably too small to begin with. A large cat gets a longer stride, so he needs more depth, and the mat marketed for his box gives him less.
Which is the whole section, honestly. Two strides of depth on the side he leaves by. Everything below is what that looks like against real boxes and real walls.
The Shape Changes Completely With the Box You Own
“Put it in front of the box” assumes the box has a front. Plenty do not, and for those the advice is not slightly imprecise, it is meaningless, because the cat picks his own exit every time.
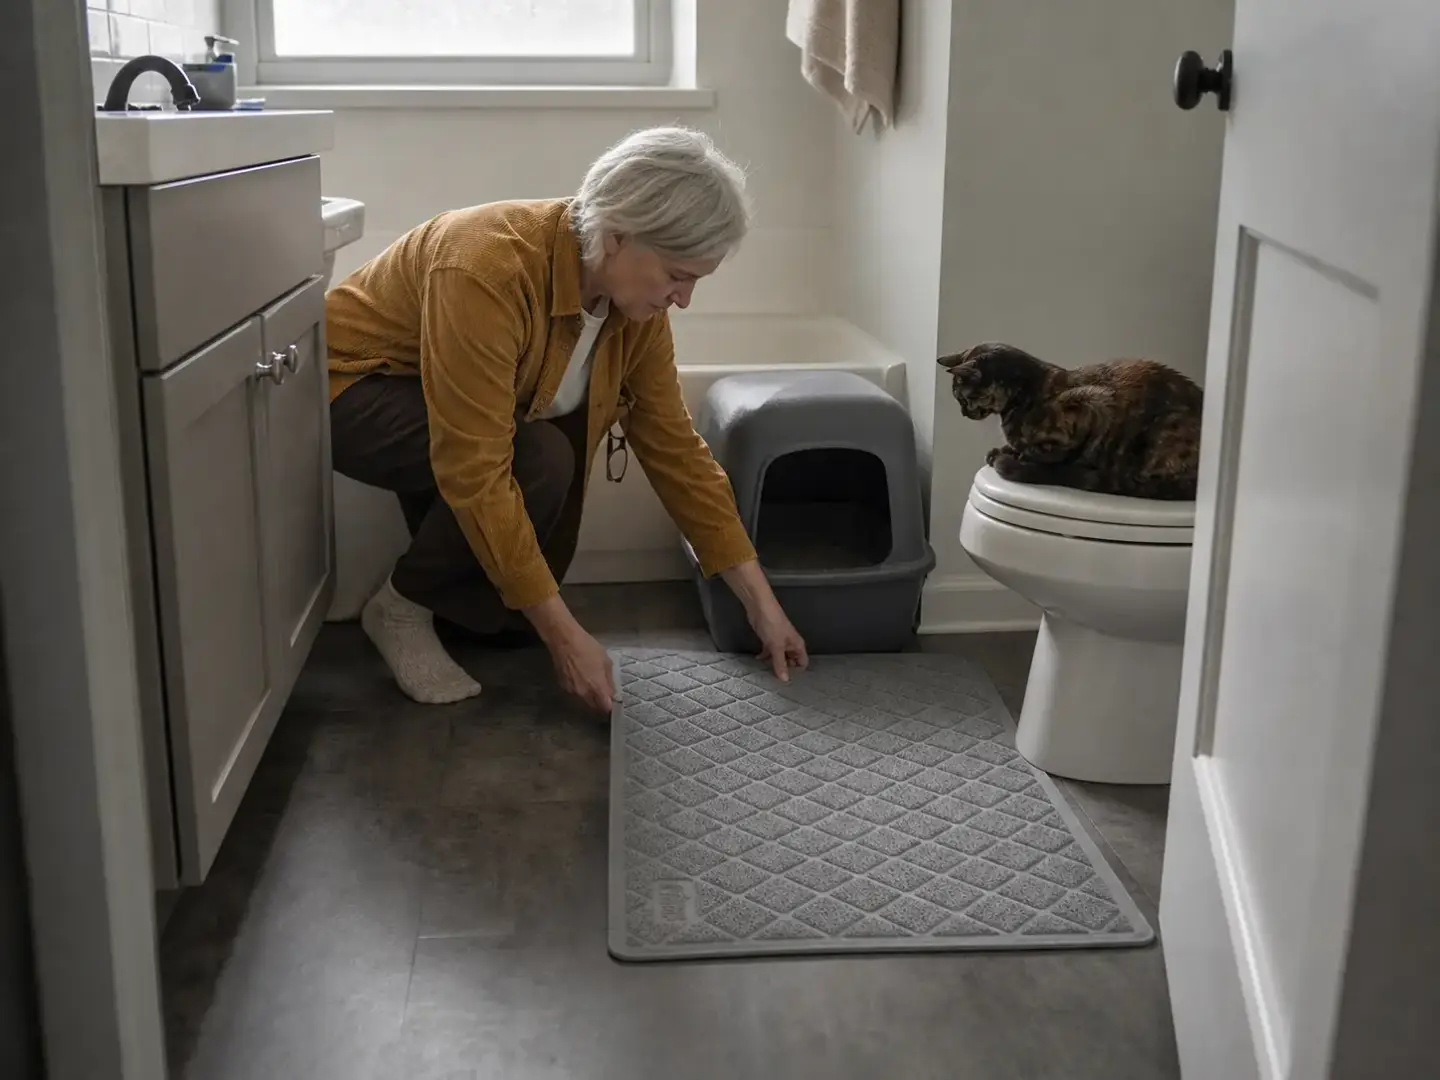
Before you buy any shape at all, turn the box. If its opening currently faces the hallway, the doorway, or the run of floor you walk most, rotating it so the exit points into the room changes where every granule lands, and it costs nothing. Do that first and re-look at the floor in a few days. Sometimes the mat you already own has been in the right place the whole time, pointed at the wrong side.
A Hooded Box Has One Door, So All the Coverage Goes There
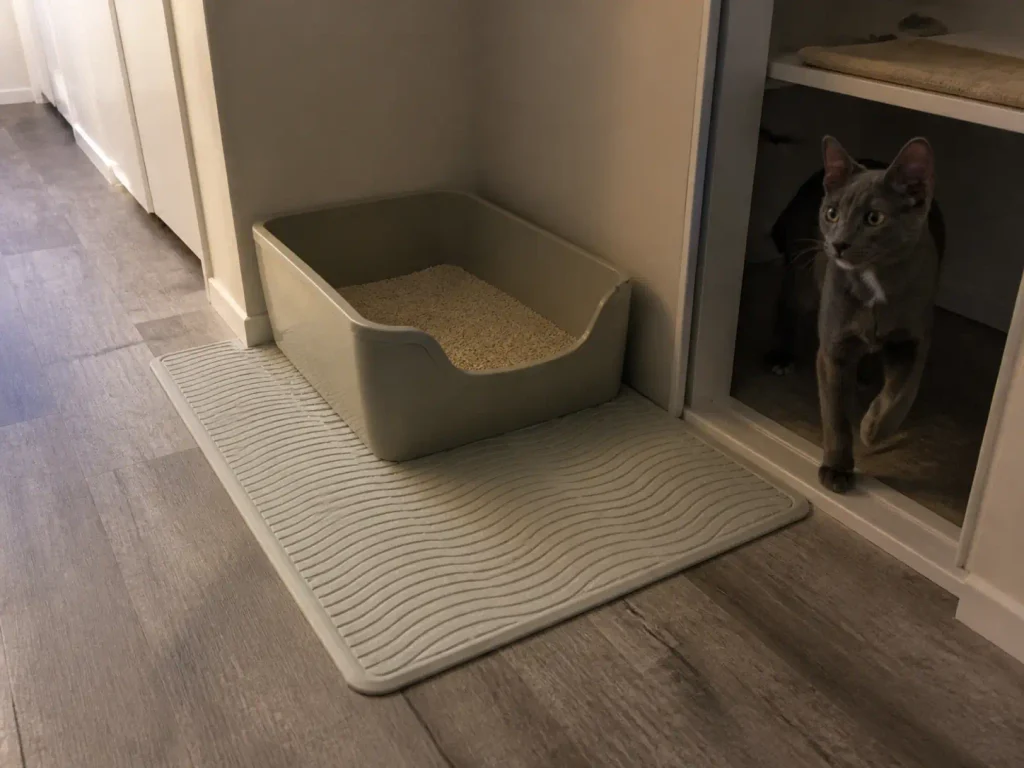
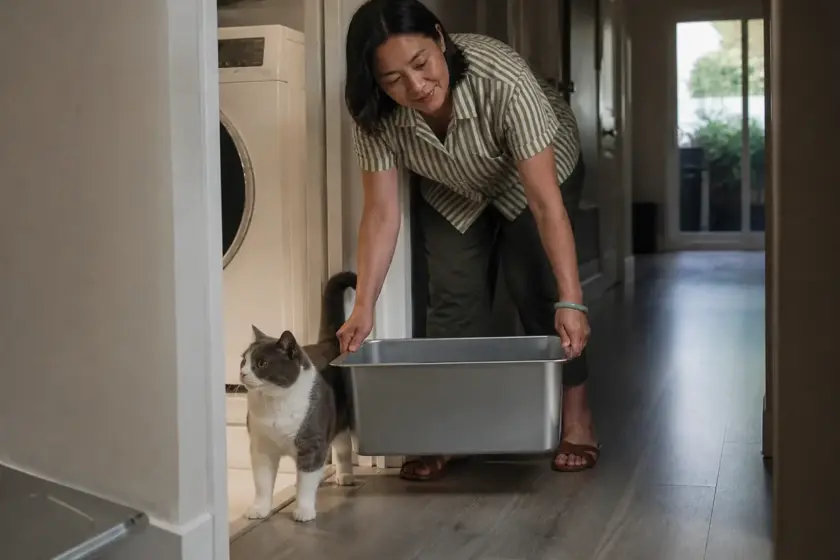
This is the easy case and the one the generic advice was written for. A hood or a front-entry panel forces a single exit point, so you know precisely where the paws land, and every square inch of mat belongs in that one line of travel. Push the mat’s leading edge right up under the lip of the opening, so stride one lands on mat and not on the two-inch strip of floor between box and mat that most setups accidentally leave.
Concentrating coverage at one door is also what lets a moderate litter trapping mat outperform a huge one. The GORILLA GRIP Cat Litter Box Mat runs 35 by 23 inches, and as coil litter mats go it is the plain one; placed with the 23-inch dimension running out from a hooded door it lands squarely inside that 18-to-24-inch target with the width to spare for a cat who exits at an angle. The caveat is texture rather than size: coiled mesh needs shaking out over a trash can rather than a quick vacuum clean, and if you are the kind of person who will not do that weekly, the trapped granules eventually stop being trapped.
An Open Pan Against a Wall Needs the Mat Wrapped Around the Exposed Sides
An uncovered pan has no door. The cat leaves over whichever wall is nearest to where he wants to go next, and that changes with the time of day and with who else is in the room. Arm & Hammer’s own placement guidance splits the rule by box type for this reason: front-opening boxes get the mat in front of the exit point, open pans get it around the external sides. That second half of the rule is the half nobody quotes.
So stop thinking of the mat as a doormat and start thinking of it as a border. Pan pushed against one wall means three exposed sides, and all three need coverage out to the same stride depth. In practice that usually means an L of mat around two sides plus the front, or a single mat large enough to sit under and past the pan on every open edge.
Wrapping is also where mat material starts to matter for a reason that has nothing to do with trapping, and everything to do with floor protection. A limp mat pushed into an L shape creeps and curls at the fold within a week. The PetFusion ToughGrip Waterproof Cat Litter Mat is a silicone litter mat, and it holds its shape better than a fabric or mesh mat does, because premium silicone has enough stiffness to stay put when it is not lying flat under a single door. The trade is real and worth saying out loud: a smooth silicone surface scrapes less aggressively than a coil or honeycomb mat, so you are buying shape retention and a rinse-clean surface, not maximum trapping depth.
A Corner Box Leaves Two Triangles the Rectangle Never Covers
A corner litter box is triangular, and mats are rectangular, and those two facts do not resolve themselves. Set a rectangle against the long diagonal face of a corner box and you get a decent strip of coverage in the middle and two bare triangles at the sides, right where the angled walls meet the floor. Litter scatter lands in those triangles because the cat exits on a diagonal, not straight out.
That is the entire reason corner-cut mats exist as their own product category rather than as a novelty. If you own a corner pan, a shaped mat is not an upgrade, it is the only version of the geometry that works. The cheap alternative, if you would rather not buy a second mat: overlap two small rectangles at an angle to fake the wedge. It looks worse and it works.
And if you get through all three shapes and the floor still looks the same, the box itself may be what is losing the argument, which is where how wall height changes what ends up on the floor picks the problem up.
Why a Perfectly Centered Mat Still Leaves a Ring of Litter
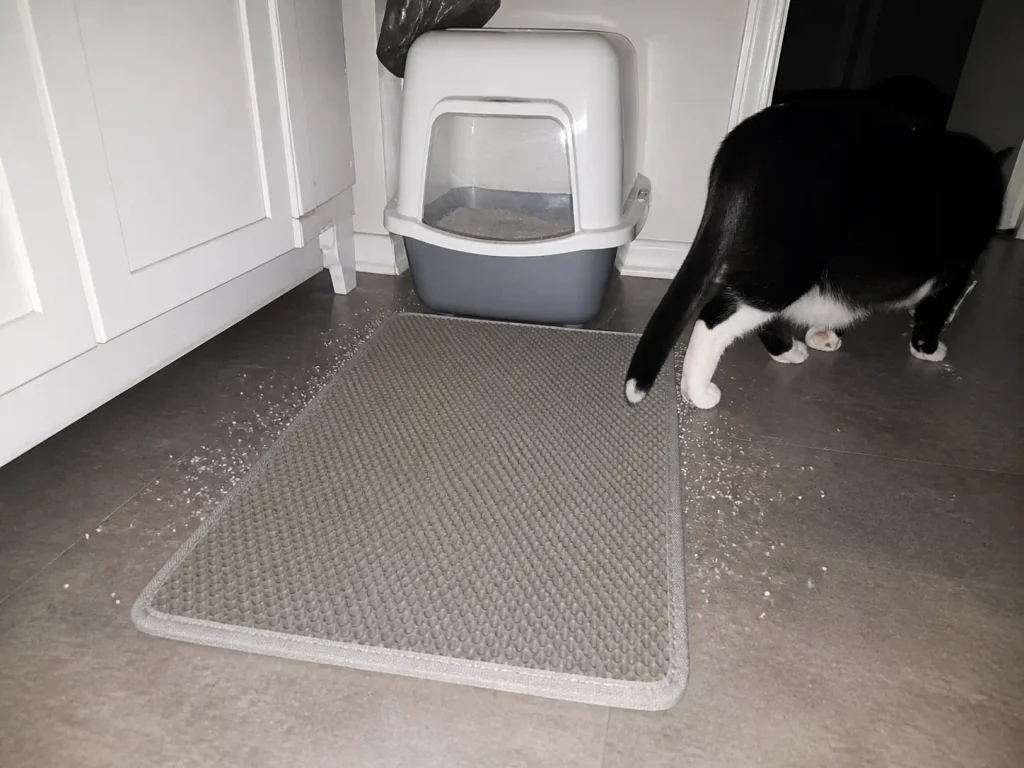
You measured. You wrapped the exposed sides. There is still a halo of granules on the bare floor around the mat’s edges, and it is genuinely maddening because it looks like the mat is repelling litter rather than catching it.
It is not one problem placed badly. It is two problems, and correct placement only ever addressed one of them.
Paw Transfer and the Covering Kick Are Two Different Problems
Paw transfer is the one everything so far has been about. Granules stuck between the toes, carried out on the foot, dropped over the first stride or two. It travels at walking speed, it travels in the direction the cat is walking, and a mat placed at the exit catches most of it. That mechanism is well behaved.
The covering kick of a digging cat is a different animal entirely. After eliminating, a cat digs backward to bury, and that motion launches granules sideways and behind at real speed. Those granules are airborne. They are not touching a paw when they cross the mat’s edge, so nothing about the mat’s texture, depth, or trapping cleverness has any chance of intercepting them.
They arc over the border and land on the floor beyond it. That is your ring.
Nobody names this failure mode, which is why the ring feels like a mystery instead of physics. And it explains why buying a bigger mat so often changes nothing: a bigger mat moves the edge further out, and a determined digger simply clears the new edge too.
Read the floor before you buy anything. Litter sitting in a ring beside and behind the box is the covering kick, and that gets fixed at the box with higher walls, not with more mat. A thinning trail heading off toward the doorway is paw transfer, and that one really does get fixed by moving the mat a few inches toward the exit.
Diagnosing this correctly saves you a purchase in either direction. If the pattern is a ring, no mat on earth is the answer and taller box walls are. If it is a trail, you have a placement problem and it is free to fix.
Coarse Litter Walks Straight Over a Texture Built for Fine Grains
The other mismatch is between what is above the mat and what the mat is made of. Honeycomb holes and coiled weaves work by having granules fall into or wedge inside a gap. That geometry is tuned for fine, sandy grains. Feed it coarse clumping litter with big irregular pieces and the granules ride across the surface instead of dropping through, because they are simply too large for the trap.
People hit this and conclude the mat is junk. The mat is fine. The pairing is wrong, and the reported fix from people who switched is often the litter rather than the mat, with several describing essentially no tracking around the house afterward. Before you replace a mat that is trapping nothing, look at what you are pouring, because granule size decides how much of this you can fix with a mat at all.
When the Wall Eats the Space You Were Supposed to Wrap
Every placement rule written so far assumes there is open floor on the sides you need to cover. In a small apartment there usually is not. The box lives in the one viable gap: wedged between a vanity base and the wall, tucked into a hallway corner, backed up against a radiator. Wrapping the exposed sides is excellent advice right up until two of the sides are cabinetry.
The cat is not wrong about that spot, by the way. He picked it, or you picked it for him, because it is the quiet corner with a way out, and those are the only two things he is voting on. The constraint is real. Work inside it.
Count the Sides That Are Actually Exposed, Then Cover Only Those
Flip the question around. Instead of asking how much mat you can squeeze into the gap, count how many sides the cat can physically leave from. Wall on the left, vanity behind, radiator on the right means exactly one exit, and one exit means all your coverage concentrates there.
The good news buried in that is worth stating plainly, because it runs opposite to every buying guide: a blocked-in box needs a smaller mat, not a bigger one. Two blocked sides remove two thirds of the coverage burden. What is left is one line of travel that needs 18 to 24 inches of depth, and a compact mat delivers that perfectly well.
A small mat sitting at the real exit beats a large mat sitting mostly against a wall. Square footage does not compensate for position, and in a tight corner most of a big mat’s area is pressed against baseboard doing nothing except making the corner harder to sweep. Buy for the exit you have.
Anchoring Beats Square Footage You Do Not Have
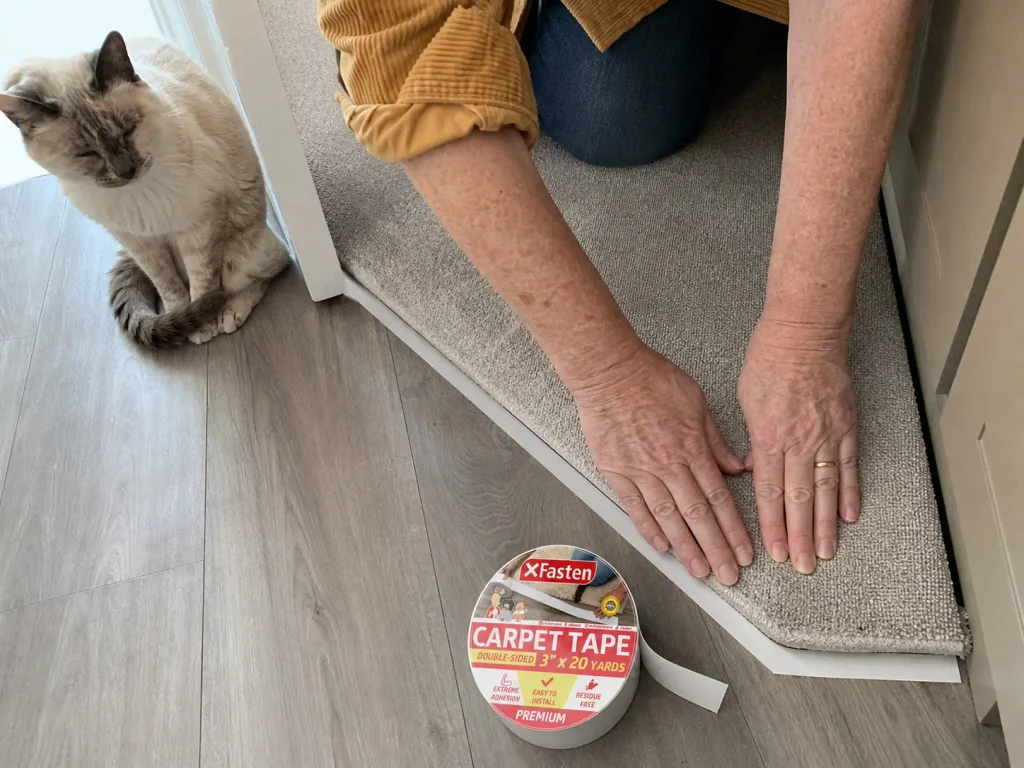
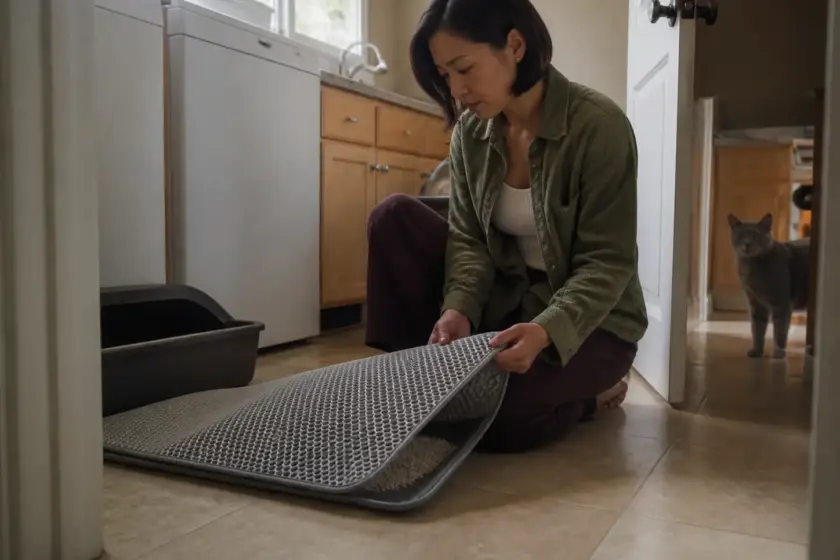
Then there is the failure that only shows up on hard floors, and it is the one nobody warns renters about. On a hardwood floor or LVP flooring, a mat skates. A cat leaving the box at speed pushes off, and a mat with no skid resistance slides two or three inches, and a mat that has moved three inches is no longer covering the litter box exit. It has become a rug parked next to a litter box.
This reads like a product failure and it is a placement failure with a delay. You put the mat in the right place. It did not stay there. And because it drifts slowly you never catch it happening, you just notice the tracking came back and assume the mat wore out.
A mat with a rubber non-slip backing solves this on carpet and does very little on a slick floor. The rental-safe fix is wood-safe rug tape made for exactly this kind of sliding, which is a standard product category rather than an improvisation. XFasten Double-Sided Carpet Tape comes in a 3-inch by 20-yard roll, enough to anchor several mats and re-tape them a few times, and it is sold as residue-free on wood and laminate which is what makes it renter-friendly: it comes up clean at move-out with no drilling and no permanent adhesive. One honest caveat: on very old or waxed floors, test a small strip in a hidden spot first and leave it a day before committing to all four corners.
If your floor is carpet, skip all of this. Carpet grips a mat perfectly well on its own and the tape is a solution to a problem you do not have.
Tape only the two corners on the side the cat exits from. Those are the ones that lift and travel; the corners tucked behind the box never move anyway. Leaving the back edge free means you can still peel the mat up to shake out the load without fighting the adhesive every week.
Two Cats Means Two Mats, Not One Bigger One
The instinct with a second cat is to size up. More cats, more litter, bigger mat. It is a reasonable guess and it solves the wrong variable, because the thing that multiplied is not the volume of litter. It is the number of places litter leaves from.
Each Box Is Its Own Exit, and Each Exit Needs Its Own Coverage
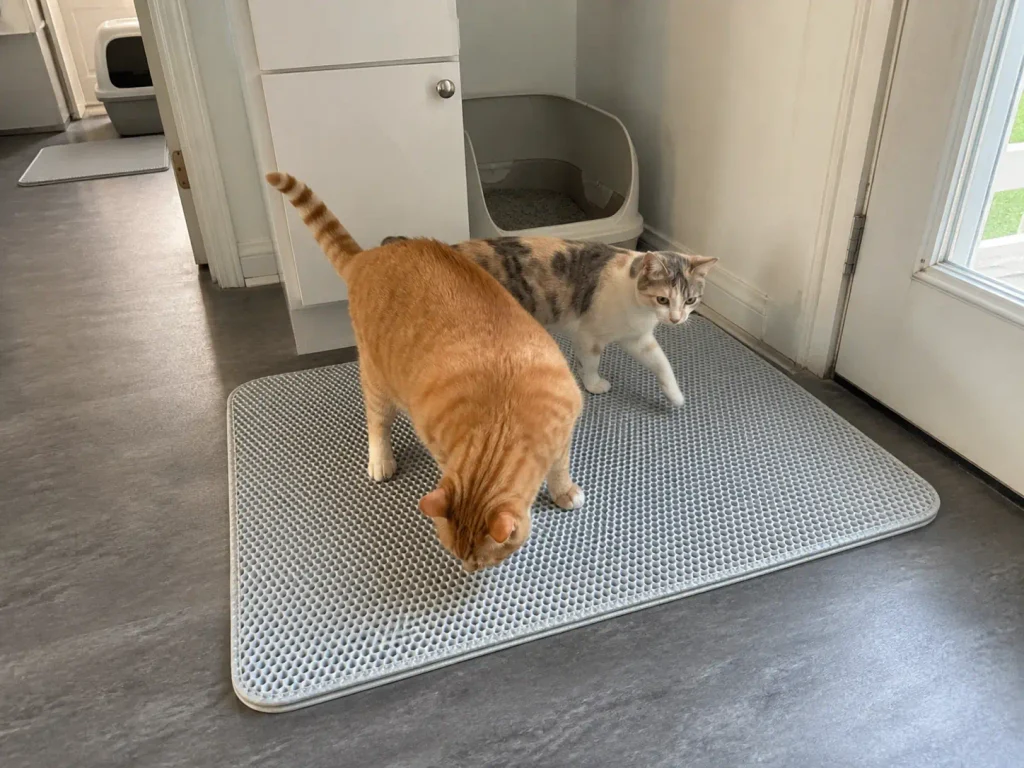
The standard ratio in a multi-cat household is N+1, so two cats means three boxes, and three boxes means three separate exit points scattered across your apartment. A mat covers the one it sits at and nothing else, so litter tracking just starts somewhere new. A 45-inch mat in the bathroom does not help the box in the bedroom closet, however impressive it looks.
Multi-cat guidance says this outright: a mat at each box, not one shared between boxes in different rooms. Each one gets placed by the same rule as a single-cat setup, measured against the cat who actually uses it, on the side he actually leaves by. The rule does not change with cat count. It just gets applied more times.
There is a hygiene angle to the shared-mat idea too, which is that a single mat serving two boxes means each cat walks the other’s litter across it every trip. Not the end of the world, but it is one more reason the shared mat is a false economy.
The Busy Box Is the One That Decides Your Mat Size
Not every box earns the same mat. In any multi-box household one box does most of the work, and it is almost always the one in the quietest, least-trafficked spot, because that is the one both cats prefer. Watch for a week and you will know which it is without needing to guess.
That shared litter box justifies the largest, most aggressive mat you can fit, and the others can run smaller and cheaper. For a high-traffic shared exit crossed several times a day, the Extra-Large Honeycomb Cat Litter Trapper Mat is built for the job: roughly 45-inch class, so it clears two full strides even for a large cat, and its dual-layer mat construction drops trapped granules into a lower chamber where paws cannot walk them back out. Its limitation is exactly its size. A 45-inch footprint needs genuinely open floor, so it belongs at the box in the hallway or the spare room, not the one squeezed beside the toilet.
Now the part where the two of you disagree. Spreading three boxes across the apartment means three mats to maintain and three patches of floor to sweep, which is worse for you in every measurable way. Consolidating all three into one corner would mean one mat and one mess.
The cats will lose that argument out loud and win it slowly, because boxes lined up in a single corner function as one box with three compartments, and cats avoid queueing and avoid meeting each other on the way in. You would be trading a cleaning problem for a household problem, and the household problem is the expensive one. Keep them spread out. Buy the second mat.
If there genuinely is only one viable location in your apartment, that constraint has its own answer in when there is only one possible spot for the box.
If you are only going to get one mat placed properly this month, make it the box both cats use. That single exit produces the majority of the litter that ends up everywhere else in the apartment, and fixing it moves the needle more than two correctly placed mats at the quiet boxes.
Conclusion
Three things to take to the floor with you.
Measure from the opening the cat walks out of, not from the edge of the box: 18 to 24 inches of depth, which is his first two strides. Depth is the number that works; width is decoration.
Let the box choose the shape. A covered litter box concentrates everything at one door, an open pan against a wall needs the mat wrapped around every side that is still exposed, and a corner pan leaves two triangles that only a shaped mat covers.
And read where the litter is before you spend anything. Granules ringed around the mat are the covering kick, and that is a box problem with a box solution. A trail heading for the hallway is paw transfer, and that is yours to fix by moving what you already own.
Check back in three weeks. That is long enough for the cat to settle into the new exit line and for the mat to reveal whether it stays where you put it. Two things to look at: has the litter pattern moved, or has it only gotten smaller, and is the mat still sitting exactly where you left it or has it crept toward the wall.
Start by sliding the mat you already own six inches toward the side he actually leaves by. It costs nothing, it takes ten seconds, and if that fixes it you have just saved yourself a purchase.
Amazon’s Audible — free for 30 days
Your cat won’t let you read. Let someone read to you.
Audible is Amazon’s audiobook library — thousands of titles, read out loud, on your phone. Free for a month, plus one audiobook to keep forever.
Frequently Asked Questions
01Where exactly should a litter mat go?
On the side the cat exits, covering 18 to 24 inches out from the opening, which is roughly his first two steps. If the box has a hood or a front door, all of that coverage concentrates at the door. If it is an open pan against a wall, it wraps around whichever sides are still exposed.
02Should the litter mat go under the litter box or in front of it?
In front of the exit, not underneath. A mat tucked under the box catches only what falls straight down, and the litter you are actually fighting leaves on paws over the first couple of steps. Sliding it partly under the box is fine, as long as the depth still reaches past the exit.
03What size litter mat do I need?
Measure depth from the opening outward first, because it needs to reach past two of your cat’s strides. A large cat needs more depth than a small one. Width matters far less than that depth, which is exactly why wide, shallow mats disappoint people who bought on total surface area.
04Why is there still litter around my mat?
Litter sitting in a ring around the mat rather than on it usually is not a placement problem. That is litter flung sideways and backward while the cat covers, and no mat position intercepts it because it never touches a paw. Higher box walls are the fix for that one.
05Do I need a mat for every litter box?
Yes, if the boxes sit in different spots. Each box is its own exit point and a mat only covers the one it is placed at. The busiest box, usually the one in the quietest corner, is the one worth sizing up; the rest can run smaller.
Leave a comment