The Two Leaks in a Litter Box Enclosure, and the Fix
Don't seal the panel first. A litter box enclosure leaks two ways [soak-through + seam escape] and the fixes are opposite. Here's which.

Alfredo RamsesFounder · August 25, 2026 · 23 min read

On this page8 sections
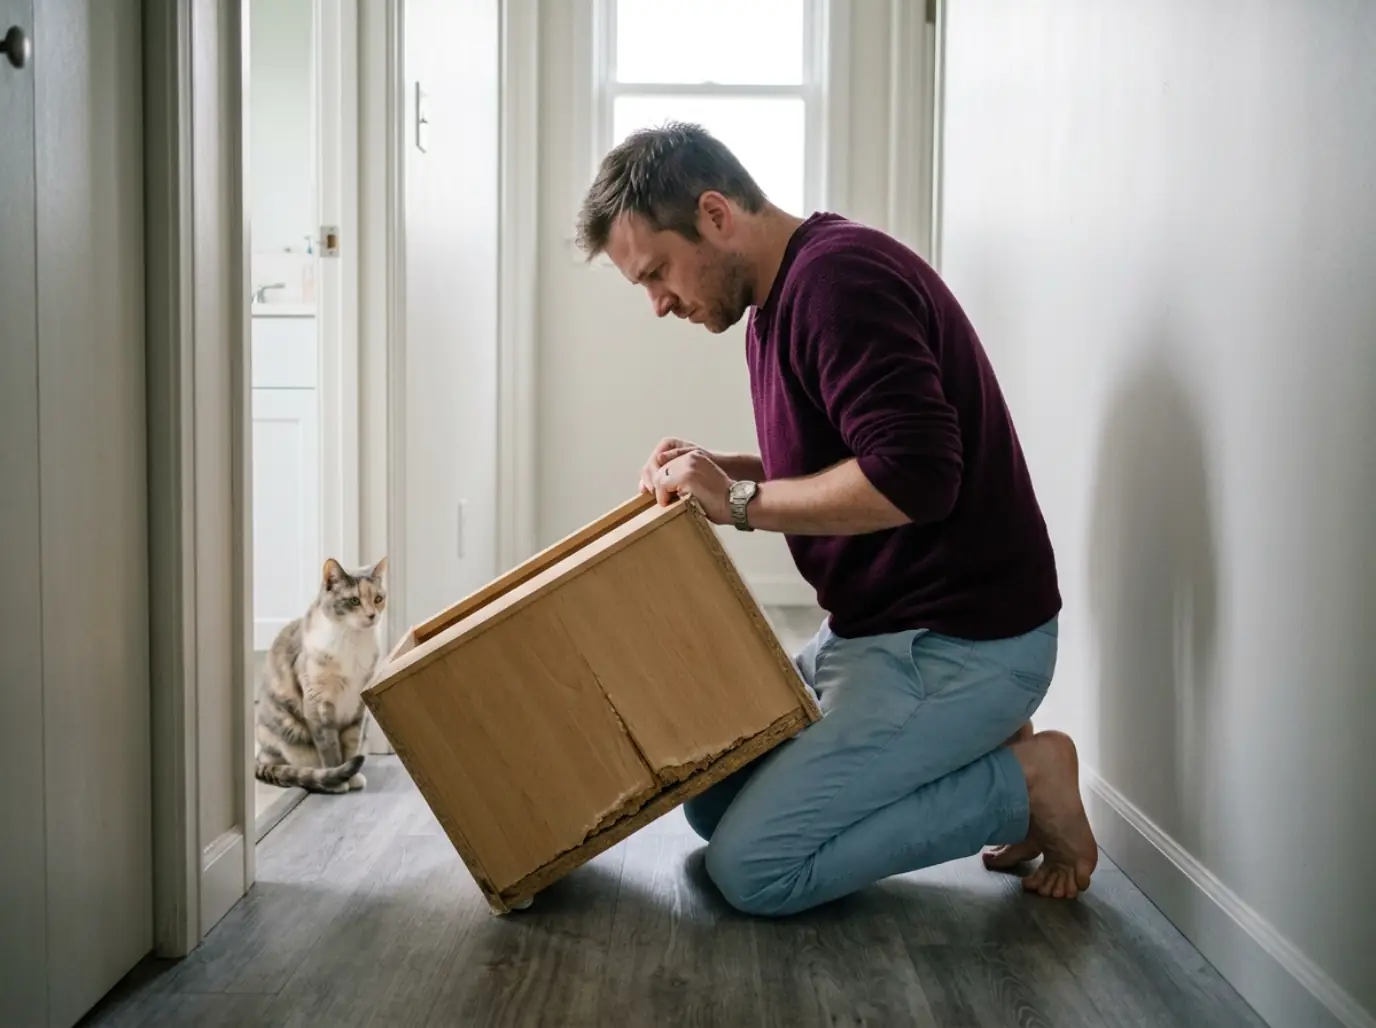
You sealed the panel. Three weeks later the swelling had spread another inch, so you sealed it again, and it spread again. The reason that happens has nothing to do with how well you applied the coating.
The liquid was never coming through that panel in the first place. Learning how to waterproof a litter box enclosure starts with the thing no product listing will tell you, which is that “waterproof” is not one problem. It is two problems with opposite fixes, and doing the wrong one costs you a weekend and a cabinet.
This article sorts out which leak you have, gives you the method for each, and finishes with the version that touches nothing at all if you rent.
Quick Answer
Waterproofing an enclosure is two separate jobs, and the order matters more than the products:
- Protect the floor first with a waterproof mat under the whole cabinet.
- Diagnose the leak: damp from a joint escapes, swelling mid-panel soaks through.
- For escape, run 100% silicone into every seam and corner.
- For soak-through, sand 220 grit, prime, then two coats on all six faces.
- If you rent, skip sealing entirely: mat, removable tray, faster liner changes.
Which Leak You Actually Have
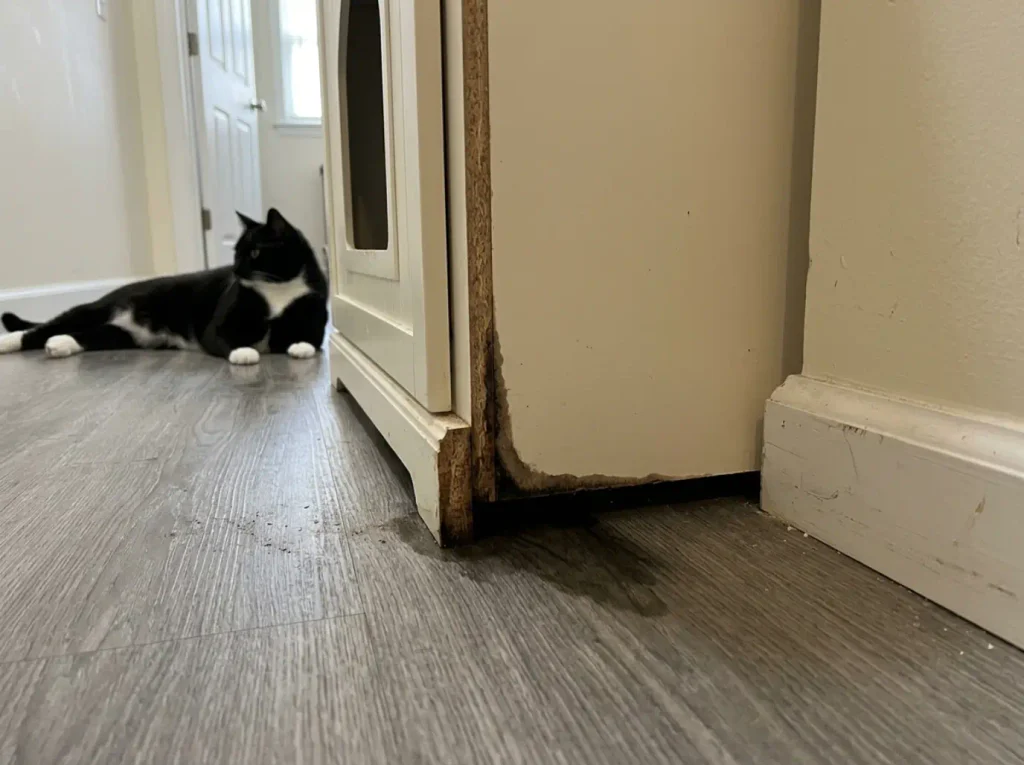
Two completely different failures get sold under the same word, and almost everybody buys the wrong fix for the one they have. Leak one is soak-through: liquid passes into a porous panel and the board itself is the victim. Leak two is escape: liquid runs along the interior floor and exits at a gap, while the panels stay perfectly fine. The pillar covers the ventilation and clearance rules an enclosure has to meet before any of this matters, and this article picks up where it stops, at the method.
Get this backwards and you will spend a weekend and a gallon of sealer on a problem that needed twenty minutes and one cartridge. Every search for a waterproof litter box enclosure fix starts here, whichever of the two you turn out to have.
Soaking Through: What Happens Inside the Board
MDF and particleboard are wood fibers held together with resin, pressed flat, and finished on the faces you can see. Liquid that gets past that finish does not sit on top of the fibers. It swells them, and swollen fibers push the panel apart from the inside, which is why the damage shows up as a soft bulge before it shows up as a stain. Left long enough the layers separate outright, and that is delamination.
The variable underneath all of it is porosity, and it is the same variable that decides whether a surface holds smell. A non-porous material resists both moisture and odor for the same reason: there is nowhere for anything to go. Wood fiber has somewhere for everything to go. Cardboard litter furniture, which is a real category people buy without noticing, has more of it than either.
Here is the part that catches people. A wipeable laminate face protects exactly the face you can see. The cut edges, the raw back, and the underside of the interior floor are usually unfinished board, and those are the surfaces sitting in the wet zone. By the time you can smell it, the liquid is inside the board rather than on it, and there is no coating you can apply from outside that reaches it.
Escaping Out: The Joints Nobody Coats
Now the other one. Liquid hits the interior floor, spreads out flat because that is what liquid does, and finds the join where the floor panel meets the side panel. Flat-pack litter box furniture does not weld that join, it butts two boards together and screws through a cam lock, so there is a hairline gap running the entire length of the cabinet. The board on either side of that gap can be immaculate and you will still find a puddle on your floor.
What stops it is a base lip, a raised edge that holds liquid inside the footprint, and almost no cabinet in this category has one.
Nothing is wrong with the material in this scenario. That is the whole point, and it is the point the retail category buries. A litter box cabinet listing that promises a waterproof interior almost always means a wipeable surface finish, which addresses neither failure mode at the place it actually happens. The finish is on the face. The leak is at the edge of two faces.
The most repeated version of this story in home-repair threads runs the same way every time: someone treats the same wooden panel over and over, watching the damage keep spreading, and eventually pulls the unit off the wall to find the real leak coming out of the base gaps. Three coats on a panel that was never the problem.
Reading the Damage You Already Have
You can tell these apart by looking, and it takes about ten seconds.
Swelling that starts in the middle of a panel face, away from any joint, is soak-through. Something wet sat on that spot long enough to get past the finish, and the fix is a coating job. A damp line or a stain spreading outward from a seam, or a puddle showing up on the floor outside the cabinet footprint, is escape. The fix there is silicone in a joint, and no amount of coating will touch it.
If both are happening at once, and in an older cabinet they often are, seal the seams first anyway. That is the cheaper job, it takes an evening, and it stops the ongoing supply of liquid that is feeding the other problem.
Protect the Floor Before You Treat Anything
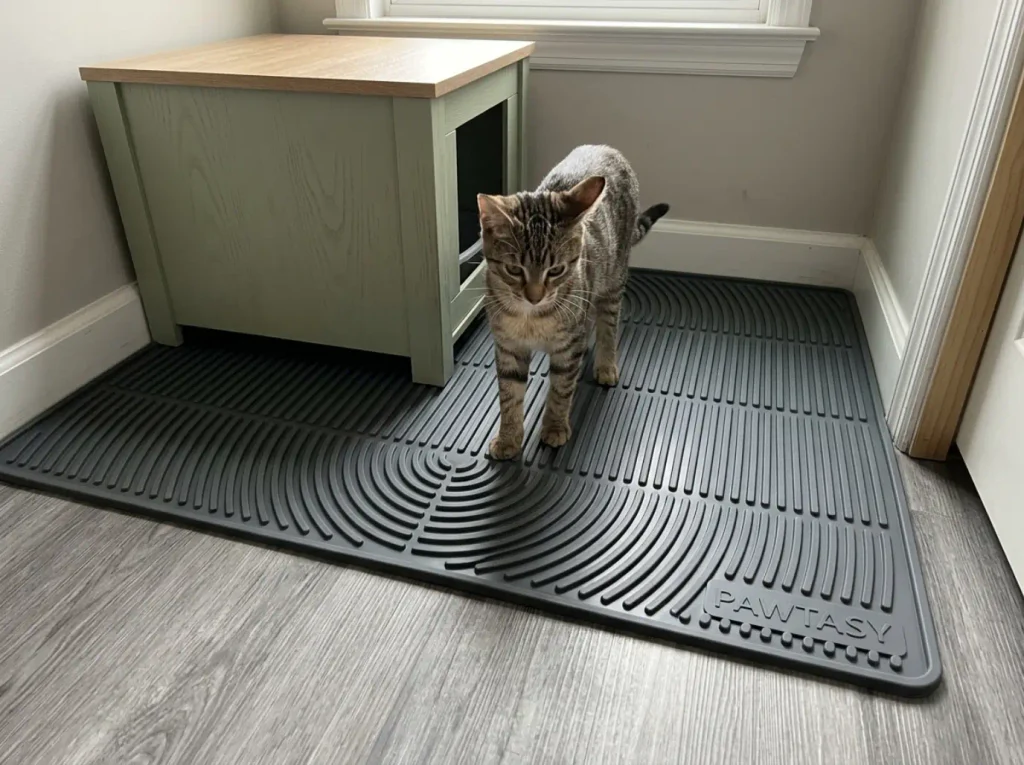
Before you buy a single thing, intercept the liquid. This works on its own often enough to be worth doing, and even when it does not, it tells you which leak you have before you commit to a fix. That is two jobs from one cheap move.
Start With What You Already Own
Floor protection starts before you buy any of it. Pull the tray out and put it back so it sits square in the cabinet with a little clearance at the back rather than shoved against a panel. Then put down whatever waterproof thing you own already: a plastic boot tray, the lid off a storage tote, a cut-down shower curtain liner, a square of painter’s plastic from the last time you decorated. A rigid PVC liner cut to the cabinet floor is the tidier version of the same idea if you have offcuts. Every one of those works as a test layer, and none of them costs anything.
Speed matters here more than capacity, which is not obvious. Ammonia starts building about half an hour after the pee lands, so a layer that lets you spot and lift a spill the same evening beats a layer that holds three days of liquid against the board while you fail to notice it. A tray you carry to a sink is faster than a mat you have to wipe in place. Both beat a cabinet floor you cannot lift at all.
Sizing the Mat to the Cabinet, Not to the Box
This is the single most common sizing mistake in the whole topic, and it is easy to make because every mat on the market is photographed under a bare litter box.
📏 The mat goes under the entire enclosure, not under the tray. A mat sized to the box catches tracked litter and nothing else, because it stops well short of the base seams where escape happens. To do the job it has to extend past the cabinet footprint on the entry side, where misses cluster, and reach under the base perimeter where the joints are. For a mid-size cabinet that means something in the 40-inch range rather than the 24-inch mats sold as litter mats.
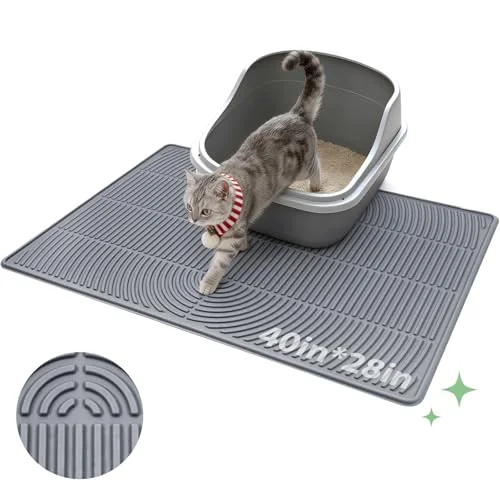
Two different liners solve two different leaks, and people buy one expecting it to do both. A drawstring liner sits inside the tray and catches what happens in the litter; the Fresh Step Drawstring Litter Box Liners in the 2.5-foot by 17-inch size fit most large trays with enough slack to gather at the top. A mat underneath catches what escapes the tray entirely. Neither substitutes for the other, and the liner has a well-known drawback worth saying out loud: a determined digger will put claw holes in it, at which point it concentrates liquid at the puncture instead of holding it.
Before buying a mat, lay a sheet of newspaper or a puppy pad flat under the enclosure for three days. Wherever it comes up damp is where the enclosure is leaking, and now you know which fix you are buying instead of guessing at it.
The Tray That Lifts Out
The removable containment tray under the box is the part doing the real work in this whole system, and it is the part most cabinets do not come with. It converts a spill from something that soaks into a floor you cannot lift into something you carry to a sink and rinse. A boot tray or a cut-down tote lid does this for pocket change.
And if liquid ever shows up on the mat outside the cabinet footprint, you have your diagnosis. That is leak two, and the next section is yours.
Sealing the Seams, Which Is the Fix Most People Skip
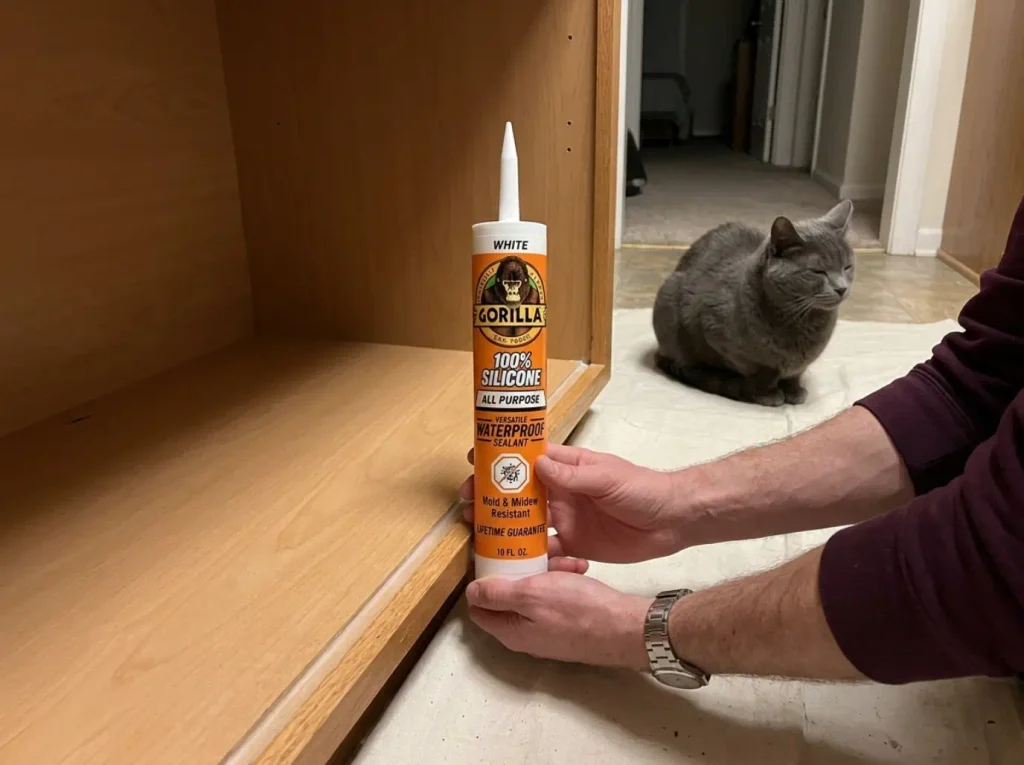
This is the cheap, fast, high-return job that almost nobody does, because the marketing pushes coatings and coatings are what you can buy by the gallon. One cartridge. Twenty minutes. You can start it after dinner.
Silicone, Not Caulk, and Why the Difference Bites
Use 100% silicone, not latex or acrylic caulk, and the distinction is not pedantry. Acrylic caulk dries hard, and a joint in flat-pack furniture flexes every time a cat jumps in or you slide the tray out. Hard material in a flexing joint cracks, and a cracked bead is worse than the bare gap was, because now liquid channels along the crack and gets carried somewhere it would not have reached on its own. A silicone sealant stays flexible, resists mold and mildew, and holds for years.
Gorilla 100% Silicone Waterproof Caulk in the clear 10-ounce cartridge is the standard version of this and one cartridge covers a cabinet’s interior joints with plenty left over. The clear finish matters more than it sounds: on an interior floor you will want to see whether the bead is intact six months from now, and white silicone on a dark panel makes every future inspection an argument with yourself.
📏 The timing is what makes this the easy job. Waterproof in roughly 30 minutes, fully cured in 24 hours. The cat is out of the cabinet for one evening, not one weekend.
The Four Joints That Matter
Where the silicone goes, specifically: the base-to-side-panel joint along the entire interior floor on all four sides, every interior corner where three panels meet, the join where the interior floor meets the back panel, and the base-to-wall joint if the unit sits flush against a wall. That last one is the one people miss, because you cannot see it without moving the cabinet.
Where it does not go: across a panel face. Silicone is a joint material. Spread over a surface it gives you a rubbery, uneven skin that traps litter in every ridge and starts peeling at the edges within months. It is the wrong tool for a coating and it fails in a way that is genuinely annoying to remove.
Order of Operations: Seams Before Coating
Seal seams first, always, and for two reasons. If you coat first and silicone second, you are bonding silicone to a finish that will eventually need scraping off, and you have made the future repair harder. And if the seam was the whole problem, which happens more often than the coating industry would like, you just finished the job and saved yourself the rest of the article.
There is a smell dividend here too that people do not expect. A smell that comes back a day or two after a proper wash is coming from the box or the furniture, not the litter, and an unsealed seam holds liquid inside a gap where no cleaning product you own can reach it. Closing that gap removes a reservoir, not just a leak.
One renter note before you pick up a cartridge: silicone inside furniture you own is fine, and you can pull it out with a blade if you ever need to. On built-ins or anything that came with the apartment, it is a modification. That case has its own section further down.
Run the bead into the joint and smooth it in one pass with a wet finger before it skins over. A bead you go back and fix twice ends up thinner at the joint than one you left alone, and thin at the joint is exactly where it will fail.
Sealing the Material, and the Part Everyone Skips
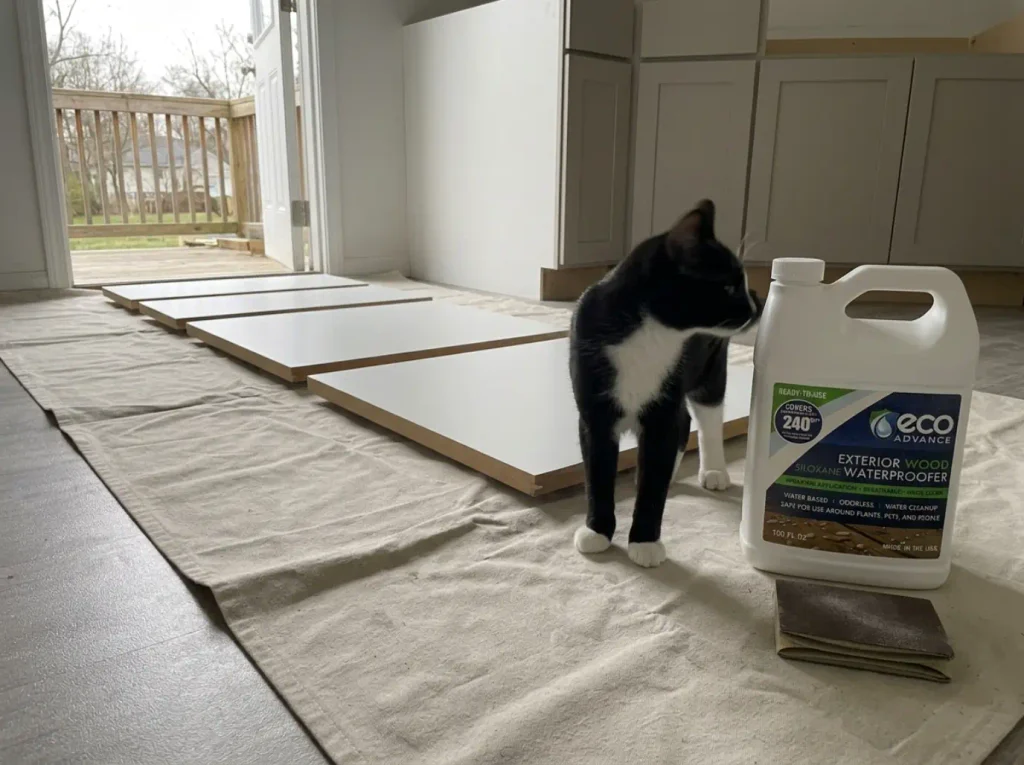
This is the job the keyword is actually asking for, and it is the one no source on this search result assembles end to end. Every result either sells a pre-sealed cabinet or says “use waterproof materials” and moves on. Here is the sequence, including the two steps that decide whether it holds.
The Sequence, Start to Finish
- Sand at 220 to 320 grit. Factory MDF has a hard glazed skin from the pressing process, and nothing bonds to it properly. You are not removing material, you are dulling the shine so the primer has something to grip.
- Wipe damp, then let it dry completely. Sanding dust under a primer coat is the second most common reason a finish lifts. Damp cloth, not wet.
- Prime with an MDF-rated primer. Regular wall primer soaks into raw fiber and raises the grain. A primer made for MDF seals the surface first so your topcoat sits on it rather than in it.
- Two coats of sealant, all six faces. Not the visible face. All of them.
- Wait 48 to 72 hours between coats. This is cure time, not drying time, and they are different numbers.
- Silicone the seams separately. Different material, different job, already covered above.
Edges, Backs and Undersides
🔧 Here is the skipped step, and it is the one that causes almost every failure of an otherwise careful job. A cut edge of MDF drinks liquid like a sponge. The faces of a panel are pressed and comparatively dense; the edges are exposed fiber ends pointing straight out at you, and they wick. A panel with a perfect face and a raw bottom edge sitting on a damp cabinet floor will swell from the bottom up while the face you are admiring stays flawless.
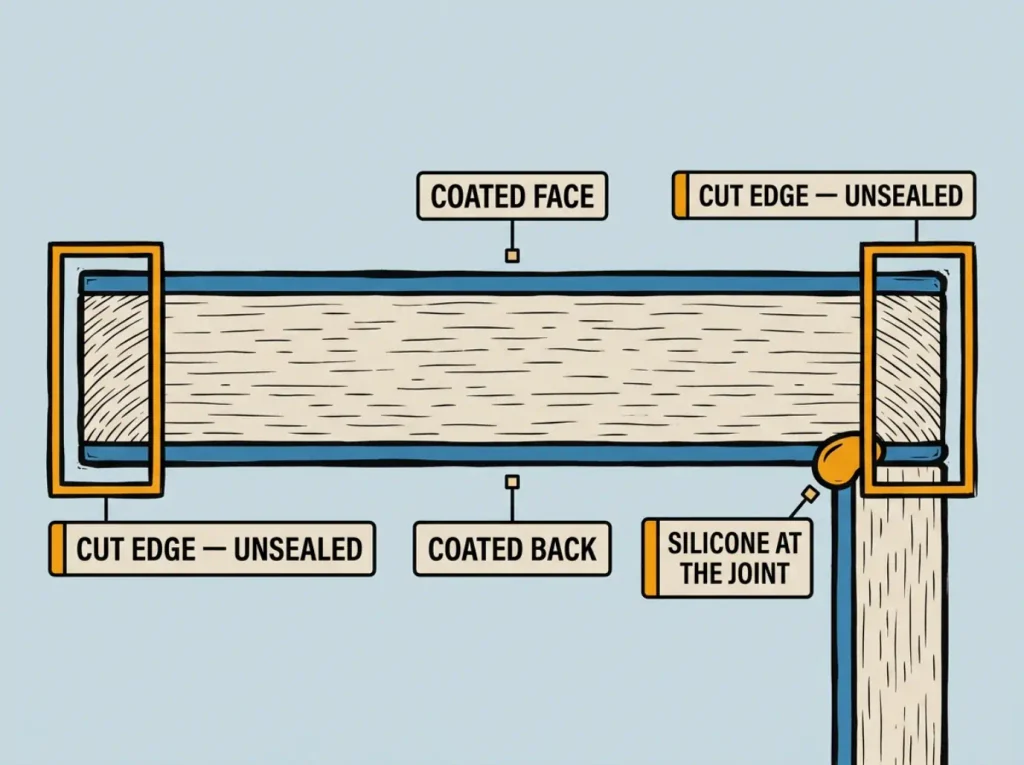
So every panel gets all sides: face, back, both long edges, both short edges. The underside of the interior floor especially, because that surface faces down into a dark cavity nobody inspects and it is directly beneath the wettest part of the cabinet.
Cure time is the other one.
48 to 72 hours between coats is not padding. Rushing the second coat traps solvent under a skin that has already closed, and what you get is a finish that stays slightly soft, dents under the tray’s corners, and then breaks at the dents. It looks fine for a month. It is the reason people conclude sealing does not work.
Choosing the Coating for What You Can Live With
Three real options, in order of commitment.
A spray-on siloxane waterproofer is the low-fume, low-effort choice, and it is water-based, which matters in a cabinet a cat will be inside every day. The Eco Advance Exterior Wood Siloxane Waterproofer in the one-gallon size covers a full cabinet with two coats and does not fill a small apartment with solvent smell for three days. The trade is durability: it penetrates rather than building a film, so it needs redoing periodically rather than being a one-time job.
Polyurethane or varnish is the weekend version, and it builds a real film with moderate durability. Epoxy is the hardest and most chemically resistant of the three, and also the most involved: mixing, limited working time, and no forgiveness if you get the ratio wrong. What people usually reach for first is marine paint or an exterior paint left over from a fence, on the logic that if it survives rain it will survive this. It will not, reliably: those are formulated against water, and the next paragraph is about why that distinction bites here.
I used to point people straight at polyurethane for this, because it is the standard woodworking answer and it is genuinely tough. What changed my mind is a chemistry detail that woodworking advice does not account for, which is the next paragraph.
What Sealed Actually Buys You
⚗️ Cat urine is not water. It is alkaline, and cat urine is alkaline enough to break down a standard sealant over time in a way that plain water never does, staining the tannins underneath permanently on its way through. A finish rated waterproof for rain is being tested against something chemically inert. Yours is not. That is the argument for either the harder finish or, more practically, for never letting liquid sit on the finish long enough to matter.
Which brings us to the honest version of the word.
Sealed means moisture-resistant, not waterproof. A properly sealed panel survives splashes and daily wipe-downs indefinitely. It does not survive a puddle that sits on it for six hours. That is precisely why the tray and the mat from the earlier section stay in the system permanently. They are not the temporary version of sealing. They are the half of the system that handles standing liquid, and sealing is the half that handles everything else.
There is a second reason to seal that nobody mentions, and it has nothing to do with warping. Engineered wood panels release more formaldehyde in warm, humid conditions, and a closed cabinet with warm urine evaporating inside it is a fairly precise description of warm and humid. Sealing the interior addresses that at the same time as the swelling. Your cat is the one whose head is in that box.
Do the coating with the panels flat and separated, either before you assemble a build or while a flat-pack cabinet is still in its box. Sealing all six faces of a panel takes minutes on a drop sheet and is close to impossible once it is screwed into a corner.
When the Material Cannot Be Saved
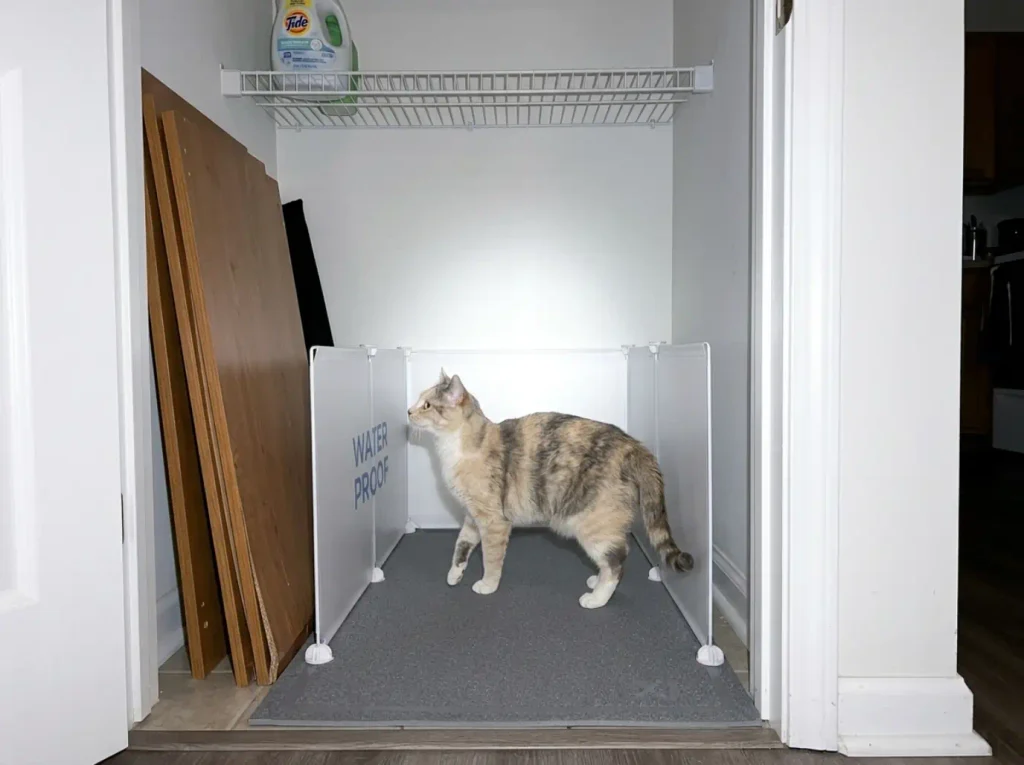
Sometimes the right answer is to stop spending on it. There are two situations where sealing is not a harder job but a pointless one, and knowing them saves you the cost of the materials plus the weekend.
Cardboard, and Why Coating It Does Nothing
Cardboard litter furniture exists, it sells well because it is light and inexpensive, and it cannot be waterproofed. Not “is hard to waterproof.” Cannot.
Cardboard gets its strength from dry fiber structure, and once liquid reaches those fibers they lose that strength permanently regardless of what is painted on the outside. You can seal the surface beautifully and the panel will still go soft the first time liquid finds an unsealed edge, which on folded cardboard furniture is every edge.
For a cardboard enclosure the entire answer lives in the previous sections: a tray, a mat, and a faster liner change. No coating, no silicone, no exceptions.
Swollen Versus Delaminated
For MDF there is a line, and it is worth learning to see it. Swollen but intact can still be saved: sand the raised area back flat, check that the board underneath is firm rather than crumbly, and treat it with the full sequence. Delaminated cannot. Once the layers have visibly separated at a base seam, the board has lost its structure and coating over it just seals moisture inside a panel that is already failing. It looks like a repair for about two months.
Press a thumbnail into the damaged spot. Firm resistance means swelling. If it gives, or if you can see a seam line where two layers have parted, that panel is a replacement.
Buying Past the Problem
The plastic sidestep deserves naming before any furniture does, because it is free of the entire problem. A large storage tote, the Rubbermaid bin sort, is non-porous by definition, and several people in the same repair threads ended up there after treating cabinets twice. It is not furniture and it hides nothing, which is the honest tradeoff and the only reason it does not end the conversation.
If concealment is genuinely part of what you need, the design decides the outcome more than the cleaning routine does, and there are two commitment levels worth comparing against treating what you have.
| Option | What It Fixes | What It Does Not Fix | Renter-Friendly? |
|---|---|---|---|
| Treat the cabinet you own | Both leaks, if you do seams and coating | Cardboard, or board already delaminated | No, it modifies furniture |
| MEEXPAWS Splash Guard XL | Escape, by stopping spray at the source | A cabinet floor that is already porous | Yes, nothing is applied |
| Tangkula Hidden Washroom | Replaces a dead cabinet, adds concealment | Its own interior still wants sealing on day one | Yes, freestanding on metal feet |
| Plastic storage tote | Both, by having no porous material at all | Concealment, entirely | Yes, and it moves with you |
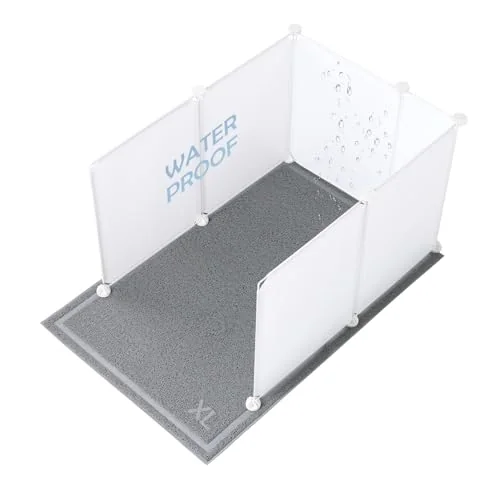

What a splash guard does and does not do is worth being precise about, because it is the same conflation from the top of this article showing up in product form. High rigid walls stop spray from clearing the tray and hitting a cabinet wall. They do nothing whatsoever for a cabinet floor that is already porous board. Buying one to solve soak-through is the retail version of coating a panel to solve a seam.
The Renter Version, Which Touches Nothing
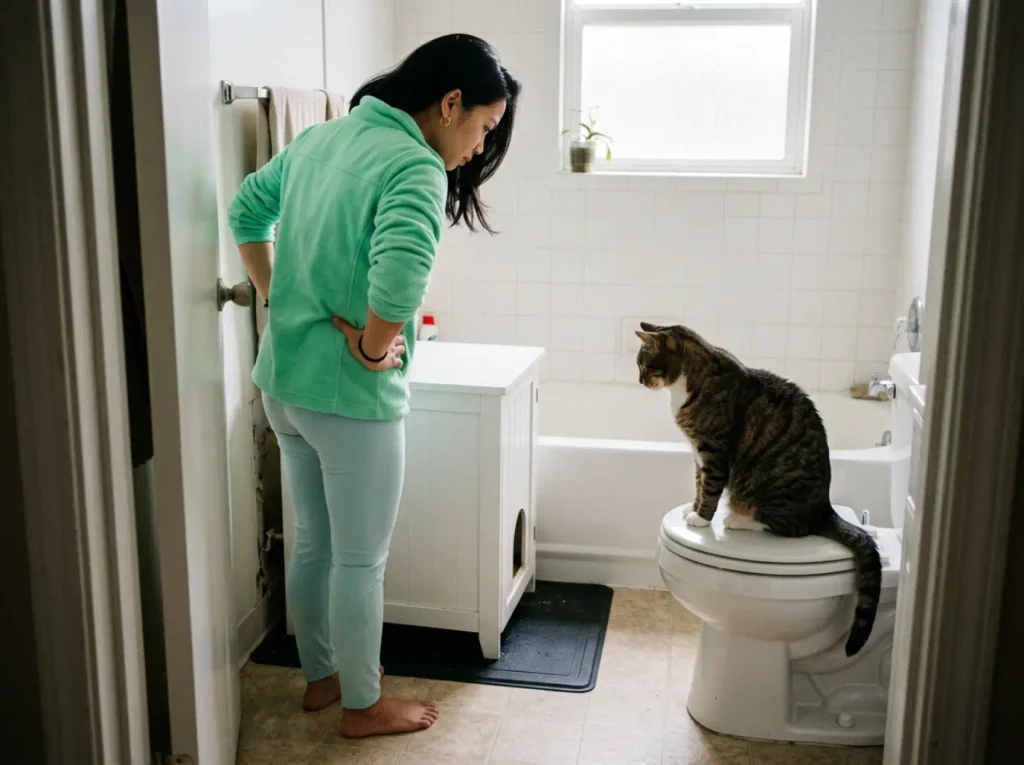
Every answer on this topic assumes furniture you own and permission you have. A large share of the people searching it have neither, and this is the version that comes with you at move-out.
Protect, Do Not Modify
The rule that decides everything here: every layer is something you place, not something you apply. Sanding, priming, coating and silicone are all modifications, and that includes the ones that feel minor. A clear bead of silicone in a rented built-in is still a modification, and it is one you will be scraping out at 11pm on the day before your inspection.
The rental-friendly stack, in order, and it is the same components you have already read about: a waterproof mat under the whole enclosure, a removable tray under the box, a plastic liner inside the tray, and a faster change cadence to compensate for the sealing you cannot do. Four layers, none of them attached to anything.
If the enclosure belongs to the landlord and it is already failing, photograph it and stop treating it. Coating someone else’s furniture without asking is a worse conversation than a stain, and a stain that was there when you moved in is not your stain.
Cadence Instead of Sealant
🔧 This is the honest trade, and it costs time rather than money. If the material cannot be protected chemically, the liquid has to leave sooner. That means checking the mat every evening rather than every few days, and changing the liner before it looks like it needs it rather than after.
The odor side follows the same logic, and it is worth knowing what actually helps near the box, and what just adds a second smell before you start stacking products in a cabinet you cannot seal. Faster removal beats better masking every time, and it beats it by a wide margin in a small apartment.
Speaking of which, there is a free, no-drill move most renters miss. In a one-bedroom the enclosure is almost always against a wall in a hallway or a bathroom, which is exactly where the base-to-wall joint hides. Pull the unit an inch off the wall. Now that joint is reachable, inspectable, and ventilated, and it cost you nothing.
Two Cats, and Why the Mat Gets Bigger
🐈🐈 This section changes with a second cat, and it changes in a specific direction nobody warns you about.
More volume is the obvious part. The part that matters more is the entrance. A second cat waiting outside a single-entry enclosure is a genuine reason for missing the litter box right at the threshold, because a cat who cannot see a clear route out will take a shortcut on the way in.
He is not being difficult about it. He is solving a problem you handed him, which is that the only exit is occupied.
And the threshold is exactly where the base seam sits. So with two cats the mat has to extend further past the entry side than the sizing rule earlier suggests, by a noticeable margin rather than an inch or two, and the real fix underneath is the one the multi-cat rule has been saying all along: a second box somewhere else in the apartment, so nobody is queuing at a door.
If you rent, photograph the inside of the enclosure and the floor under it the day you set it up. When you move out, the question of who damaged what becomes a two-second conversation instead of a deposit dispute.
What to Do First
Find out which leak you have before you buy anything. Damp spreading from a joint is a gap and wants silicone; swelling in the middle of a panel is the material and wants a coating. The two fixes are not interchangeable, and picking wrong costs you a weekend and leaves the leak running.
Seams first, coating second, and never a coating that skips the cut edges and the underside. That is where a panel with a flawless face still fails, and it is the single most common reason a careful sealing job stops working by spring.
And remember what sealed actually means. Moisture-resistant, not waterproof. The tray and the mat stay in the system permanently, because they are the half that handles standing liquid.
🗓️ Check back in three weeks. Pull the enclosure an inch off the wall and look at the interior base seam and the floor underneath it. Dry means the system is holding. A damp line at a joint means one bead got missed, and finding that at three weeks is a repair. Finding it at three months is a replacement.
Before any of it, put a pee pad under the whole unit for three days. If it comes up dry, your enclosure is fine and you have just saved yourself the cost of a gallon of sealer.
Amazon’s Audible — free for 30 days
Your cat won’t let you read. Let someone read to you.
Audible is Amazon’s audiobook library — thousands of titles, read out loud, on your phone. Free for a month, plus one audiobook to keep forever.
Frequently Asked Questions
01Is there a waterproof cat litter box enclosure available?
Yes, but read what the listing means by it. In most cases waterproof describes a wipeable exterior finish, not a sealed interior floor or urine-resistant joints. The ones that genuinely address it are rigid plastic or PVC splash-guard designs rather than engineered-wood cabinets with a laminate face.
02What can I put under a litter box to protect the floor from pee?
A waterproof silicone or rubber mat sized to sit under the entire enclosure, not just under the tray. The leaks that reach your floor come from the base seams, which a box-sized mat does not cover. A cheap plastic boot tray under the box adds a second layer that lifts out and rinses.
03Does sealing MDF actually make it waterproof?
It makes it moisture-resistant, which is not the same thing. A properly sealed panel survives splashes and wipe-downs indefinitely; it does not survive a puddle sitting on it for hours. That is why liquid interception stays part of the system even after you seal.
04Can I use regular caulk instead of silicone for the seams?
Not for this. Acrylic or latex caulk hardens and cracks at a joint that moves even slightly, and a cracked bead channels liquid instead of stopping it. 100% silicone stays flexible and mold-resistant for years, and it is waterproof roughly half an hour after you apply it.
05Why do vets not recommend closed litter boxes?
The concerns are about size, exits and odor concentration rather than the cover itself. A hood that is too small, has one way out, or traps smell can make a cat stop using the box. That is a sizing and ventilation question, covered in the enclosure guide rather than here. And if a cat has suddenly stopped using a box he has always used, that change is a vet conversation first.
Leave a comment